Saturday, March 15, 2014

Simplicity 1803

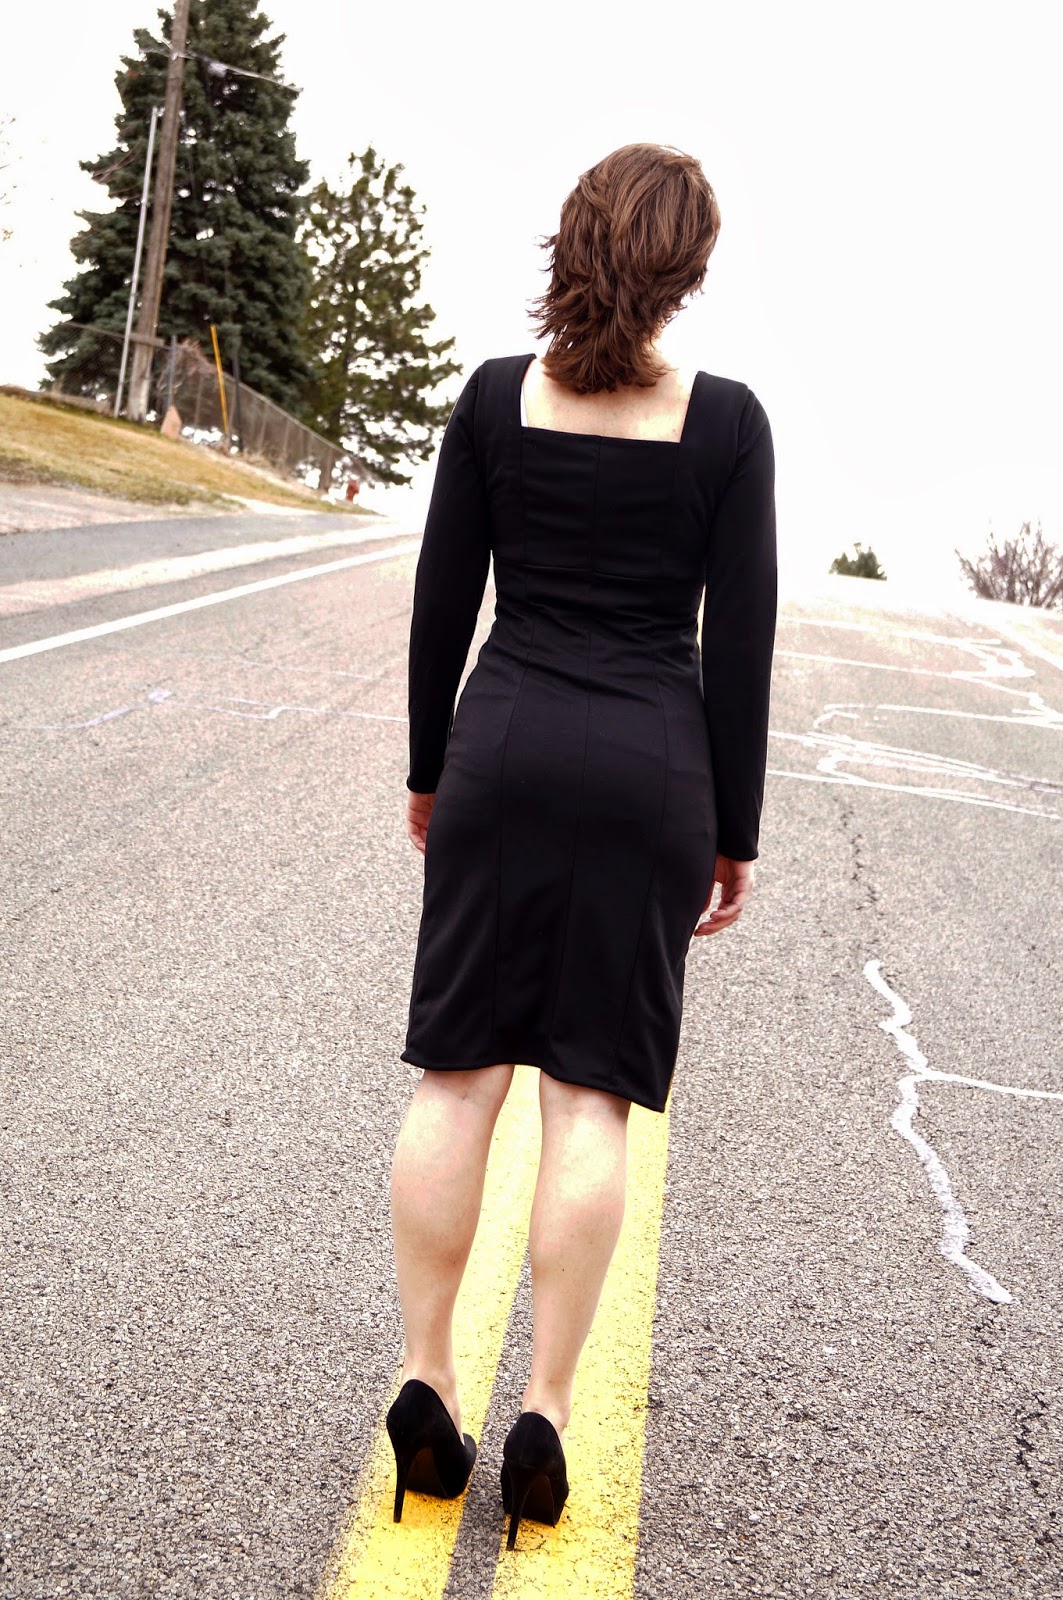
A twirly dress with a sash!  Classically awesome.


Pattern details:
Pattern:  Simplicity 1803
Size:  8
View:  B
Fabric:  Cotton!
(For reference my measurements are:  Hips, 38".  Waist, 26".  Bust, 34")


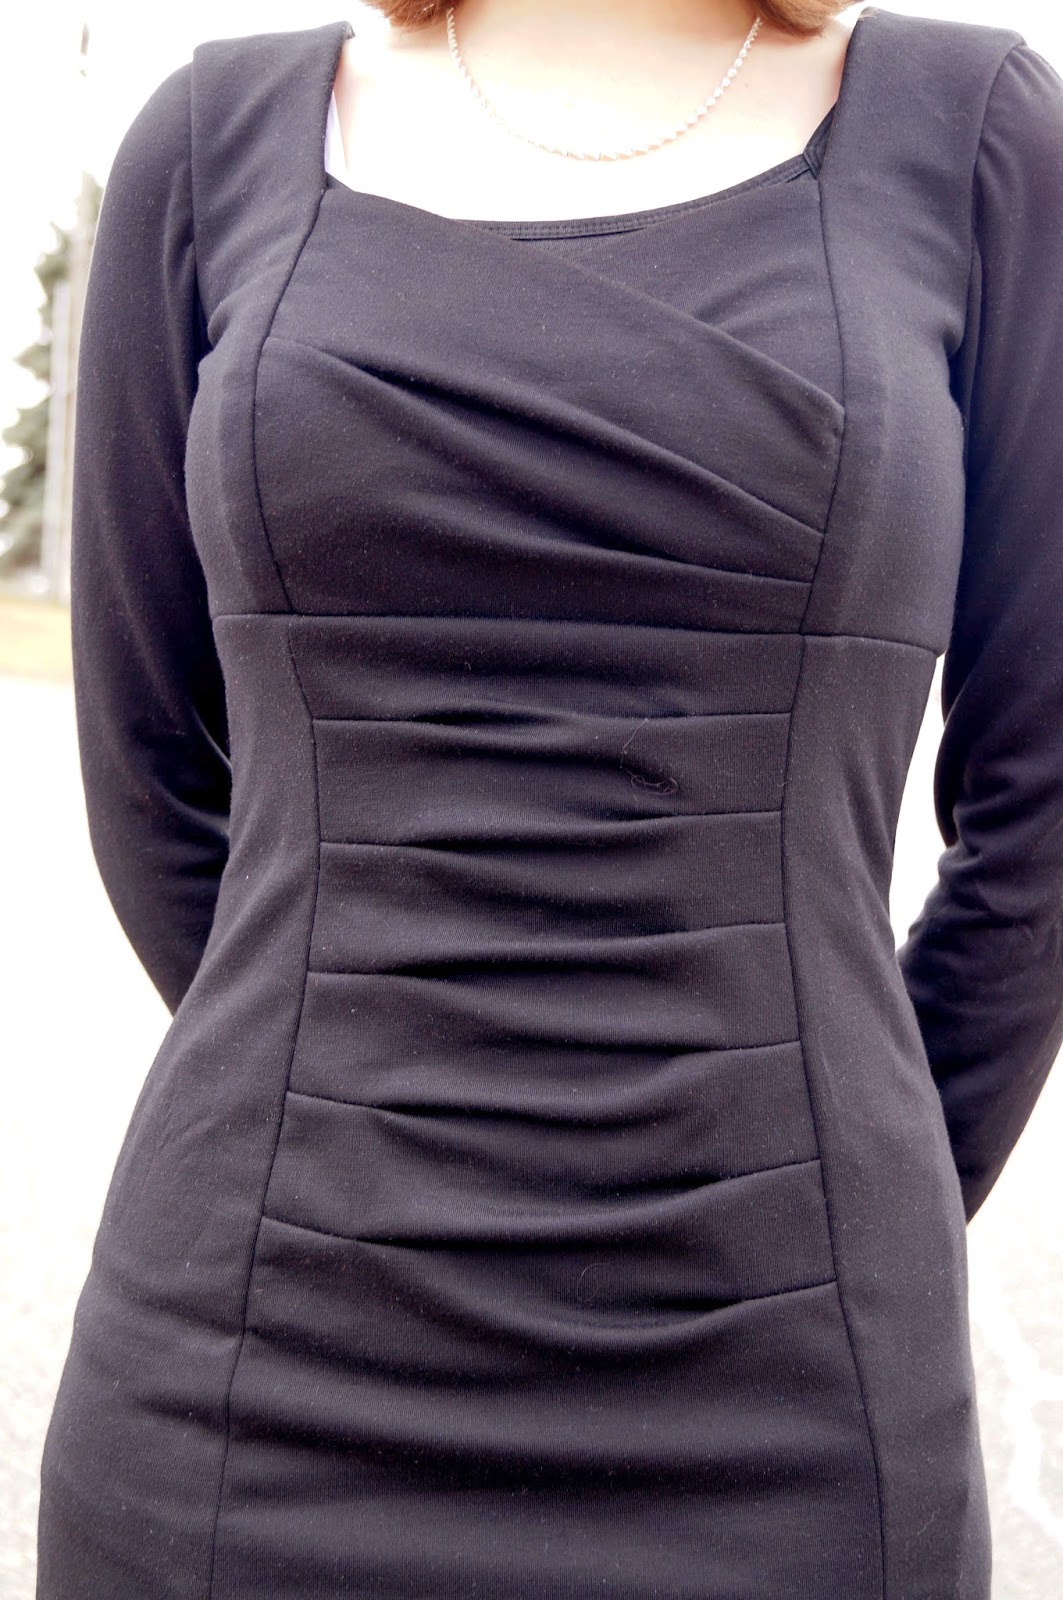
The biggest alteration I had to make to this pattern was at the bustline.  During the first fitting I looked down and realized that the neckline bulged out- way too far.  By the last fitting I had added a 2" wide dart at the center seam.  Apart from that the rest of the pattern worked out fine.


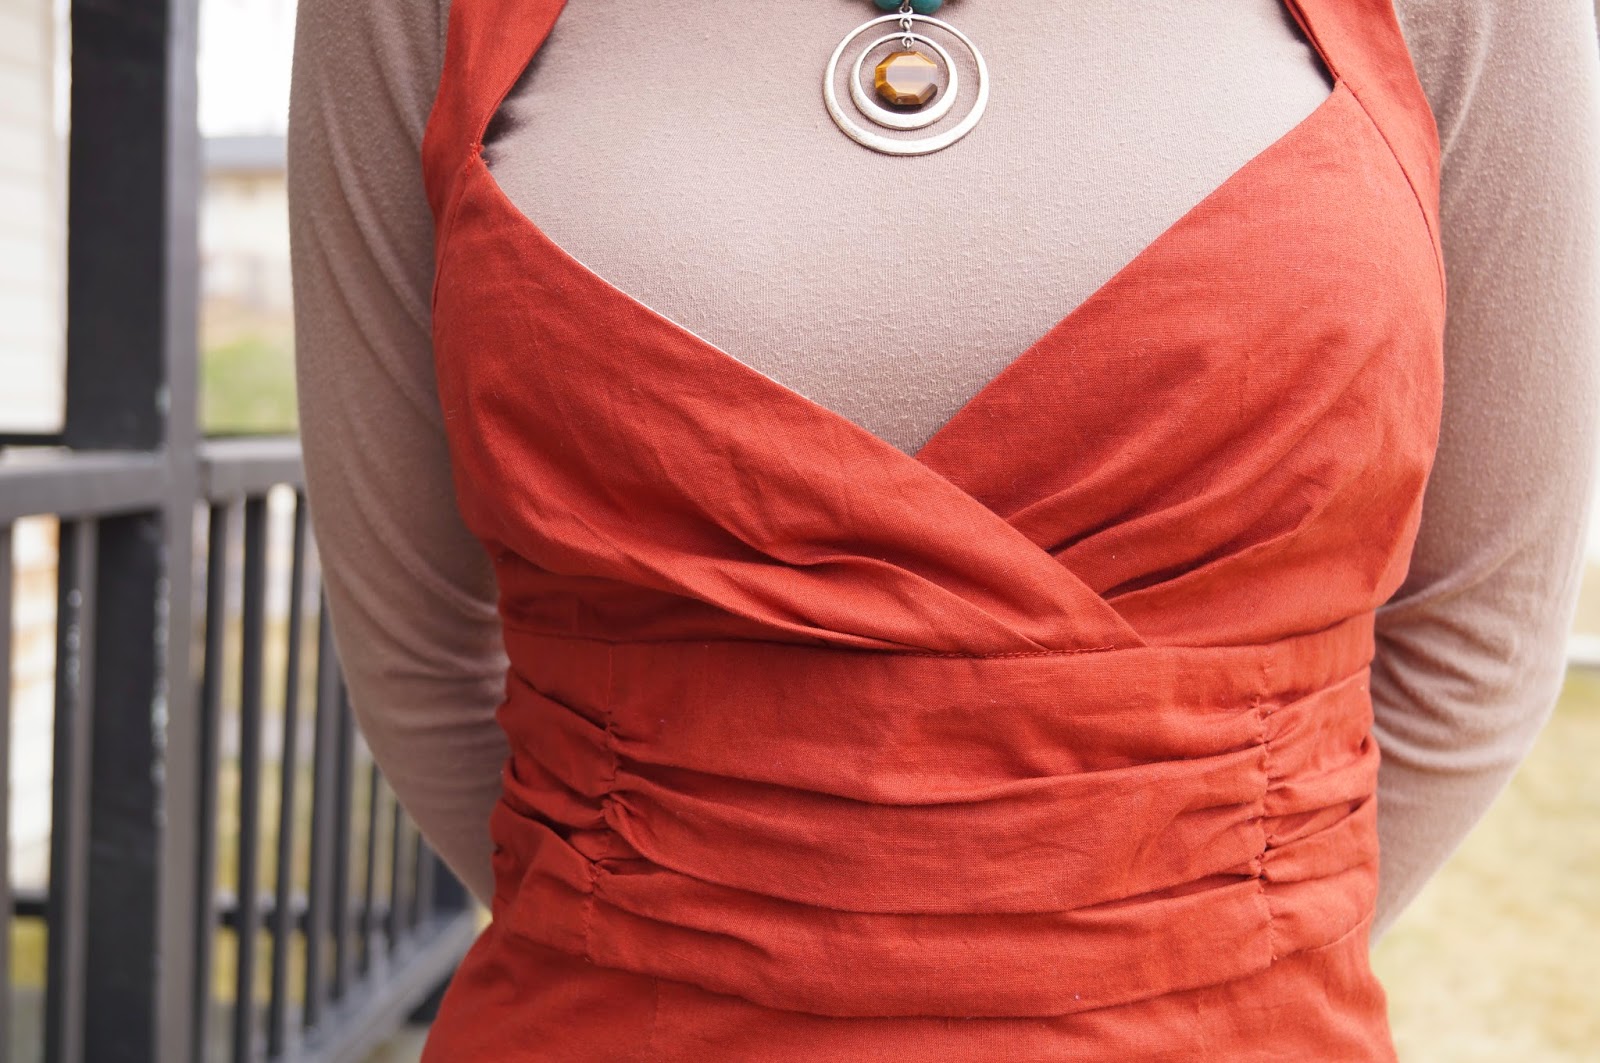
Don't you love the sash fabric?  Oooh, and the nice, straight zipper edges? (a rather rare occurrence for this particular seamstress...) 

Here is the more classy belt + heels look:


Like usual, I used the muslin as the lining:


I need to remember to line the top half of the bodice with the same color as the outside of the dress.  I had to add top stitching around the whole neckline to keep the white from showing.  Actually, top stitching is a nice touch, but professional ironing skills are still required to hide the white edges- skills that I certainly do not possess.

Simplicity 1778: The dress that has never been worn

Now, if you are looking for something awesome to sew, don't be put off by the title of this post. This dress is one of the best things that I have ever managed to make. But seriously, where am I supposed to wear such a fantastic dress?


Pattern Details:
Pattern:  Simplicity 1778
Size:  10
View:  C
Fabric:  The biggest adjustment that I made to this pattern was to eliminate the zipper.  Instead of using the suggested fabrics I chose a black double knit, and cut out the pattern pieces one size smaller than I normally would have.  
(For reference my measurements are:  Hips, 38".  Waist, 26".  Bust, 34")


I got ridiculously excited over the texture on these front panels...


Note:  Before I cut out the front pattern pieces I added about 1.5" to the top of each section to raise the neckline a bit.  If I make this pattern again I would also think about widening the shoulder straps- especially in the front- to create a more narrow neckline.


Apart from eliminating the zipper, using knit fabric is also nice because it doesn't need any major edge finishing.  This is the only dress I have made that I have not added any lining.


This dress turned out absolutely perfect.  Now the trick is to find someplace to wear it.  Hey, it has only been in my closet for four months....any suggestions?  

Circle Skirt!

Circle skirts have got to be one of the most fun pieces of clothing to wear...they are so twirly!

Pattern Details:
This was a basic circle skirt.  I made a band to fit my waist, adding a bit of extra for zipper/seam allowances, then cut two half circles, the inside edge approximately 8" longer than the waistband piece.  Instead of gathers I used pleats to take in the extra fabric.  As always, I lined the skirt with muslin.

The only drawback to circle skirts is the amount of fabric required.  I did manage to find 60" wide fabric that had a very neat texture.  I'm fairly positive I managed to get by with only 2.5 yards, though it would have been nice to have some extra.


I also added a pocket into the sides.  This was the first time drafting my own pocket pattern- next time I think that I will make them slightly deeper.


Another successful one-evening long project.  Now I need to find some dances to wear it to!

Friday, March 14, 2014

High Waisted Skirt...No Pattern!

Somehow I managed to stumble across this tutorial online one day.  And I decided that it would be a nice, easy Friday-afternoon-homework-avoidance-project.  Now it is one of my favorite skirts to swing dance in.

Pattern Details:
The tutorial that I used for this pattern can be found here: http://www.thisbigoaktree.com/2012/04/high-waisted-sash-skirt-tutorial.html

I bought a couple of yards of clearance cotton, and used the leftovers from the Simplicity 2442 dress for the accent color.  The tan portion of the skirt follows the directions in the tutorial.  However, before adding the zipper I made a second skirt out of leftover muslin and added a wide orange band on the bottom.  I then did a tricky all-machine-no-hand-stitching zipper insertion that left no raw edges!!
Inside of the skirt.  Yes, the muslin was almost the same color as the skirt.  But I promise this is the inside layer.

Here is the inside of the zipper.  This is the first project that I managed to pull off a fully lined zipper with no hand stitching.


This was such an easy pattern to make, and it really didn't take much fabric.  It also looks quite nice with a belt instead of a sash:


Simplicity 2442: The Casual Formal

I never attend any formal functions.  But sewing patterns for formal gowns are so enticing!  Simplicity 2442 had a most intriguing waistband, so even though it was a more formalish-type dress I decided to try it out anyway.

Ahhh, I love the way this dress turned out.  It is formal....but it isn't!


Pattern details:
Pattern:  Simplicity 2442
Size:  6
View:  C
Fabric:  Ordinary cotton, in my favorite color.
(For reference my measurements are:  Hips, 38".  Waist, 26".  Bust, 34")

Once again, I used the muslin as the lining for the dress.  If I could go back and change one thing it would be to use the orange fabric for the lining in the upper half.  If the dress is not ironed perfectly a little edge of white shows around the top.  


My favorite part of the dress is the waistband.  The texture is marvelous.


One recommendation that I would make is to have someone help you position the shoulder straps on the back of the dress while you wear it (or use a dress form).  If I recall, I was finishing this dress at around 3 AM because I was so excited to see what it looked like.  Attempting to pin the back together in a mirror did not work out too well.  I had to go back and fix them the next morning.


In summary, making formal gowns out of cheap fabric is a fantastic idea.  And if I ever really do want to make a formal out of fancy fabric this will be my first choice.

Burda Style 7069: The perfect interview skirt

A few months ago I decided that I should probably start thinking about what I should wear to grad school interviews.  All of the skirts that I had were more suitable for swing dancing, not formal interviews.  What a fantastic excuse for a sewing project, right?


This turned out to be the perfect interview skirt.  I love the waistband, and the fit.  It goes with so many outfits!

Pattern details:
Pattern:  Burda Style 7069
Size:  14
View:  B
Fabric:  Grey suiting, with a muslin lining.  The suiting did fray quite a bit.  Since I don't have a serger I pinked all the raw edges.  The edges have stayed clean so far!
(For reference here are my measurements:  Hips, 38".  Waist, 26".  Bust, 34")


I did end up taking in about an inch on both sides of the waistband so that it didn't stick out in the back.  I also took almost an inch in on the lower half of the back seam to add a bit more shape.  \

The pattern pieces are LONG.  I think that I cut about 6" off of the pieces, and then took a few more inches off before adding the hem.  I would hold the pieces up to your waist before you cut the fabric to test the length.  I saved quite a bit of fabric this way.
Here is the zipper.  At least the top half is invisible...


I almost always take the muslin version of a project and use it as the lining.  It is so much cheaper than buying additional fabric, and it is already made!  For this lining I chose to hem it right above the top of the slit.  This way the lining wouldn't show when I walk.

Would I make this skirt again?  Most definitely.  I am already thinking about making a tan one....  Honestly, the most challenging part of this project was getting the pattern- I have only seen Burda Style patterns on sale once.  And of course it was the week BEFORE I wanted to buy this pattern.  Whatever.  It was worth it.